Now let’s draw a tractor. In each of the steps below the part of the picture you need to draw is shaded blue – but don’t colour in your own picture until the end.
You will need a piece of paper a rubber a black pen and a pencil.
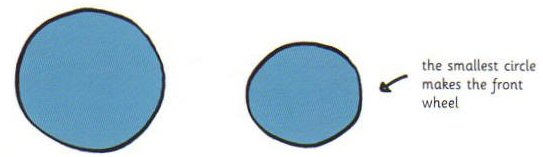
Draw two different-size circles side by side to make wheels.
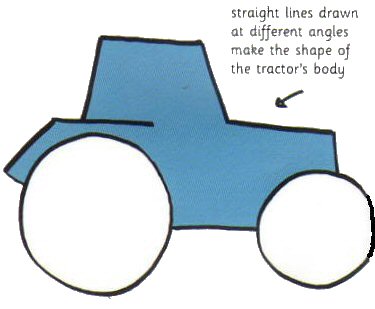
Copy the picture below to draw the body of your tractor – try drawing a straight line to join the wheels first.
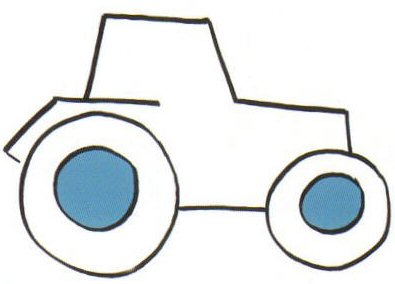
Draw a circle inside each of the wheels. Now you’ve made some tyres.
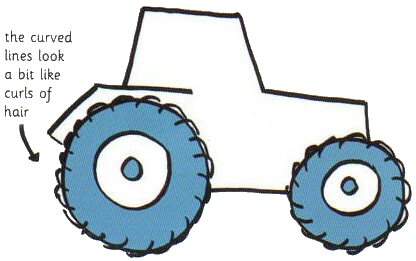
Draw a much smaller circle in the middle of each wheel. Then draw lots of curved fines around the edge of each tyre to make the tread.
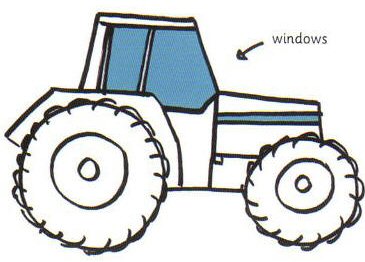
Look at the picture above. Carefully copy all the lines drawn to make the windows and
door. Add stripes to the bonnet too.

You could add a few more details to your picture before you colour it in. Don’t forget the cylinder-shaped exhaust pipe – it sticks up out of the bonnet.
How To Draw A Tractor
Drawing is often exploratory, with considerable emphasis on observation, problem-solving, and composition.With tractors it is is a form of visual expression and is one of the major forms within the visual arts. Learning to draw is the single most accessible form of art available. Drawing is a skill that everyone can learn.How to draw a tractor could be thought of as a process, not a talent. Drawing may be done with a liquid medium, applied with brushes or pens and is generally concerned with the marking of lines and areas of tone onto paper. Drawing is also regularly used in preparation for a painting, further blurring their distinction. Drawing a tractor has never been so easy. Learning to draw is one of the most important activities you and your students can do.